
If you’ve ever tried streaming or downloading videos on your phone with VidMate, you already know it’s like carrying a mini movie theater in your pocket. But let’s be honest—sometimes, the tiny mobile screen just doesn’t cut it. You want your videos on a big, beautiful screen without squinting or tilting your phone at just the right angle. That’s where the magic of Bluestacks comes in.
What is Bluestacks? It’s a free Android emulator that lets you run Android apps and games on your Windows PC or Mac. It’s like giving your laptop the power to say, “Hey, I can be an Android phone too!”
So, if you’re ready to watch, stream, and download videos on VidMate with the comfort of your big screen, here’s how you can install it step by step.
Step 1: Download and Install Bluestacks
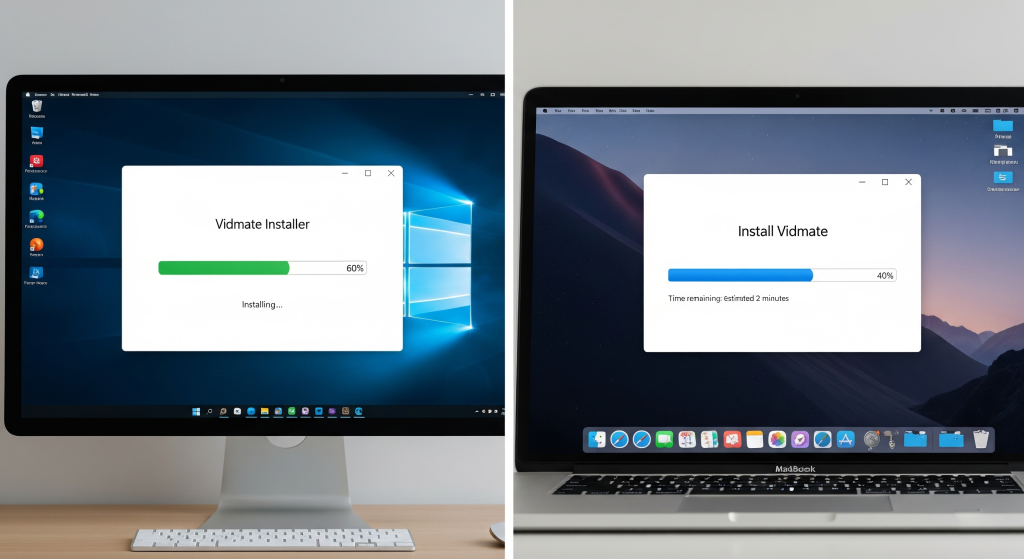
Head over to the official Bluestacks website (bluestacks.com) and grab the installer for your operating system—Windows or Mac. Don’t sweat already, it’s free and safe.
- Click Download Bluestacks.
- Run the installer and follow the on-screen instructions (you know the drill: click “Next” a few times and like always, pretend you’ve read the terms and conditions, much like most sane people).
- Once it’s installed, launch Bluestacks.
Mission Accomplished! Your computer is now impregnated with a virtual Android phone.
Step 2: Set Up Bluestacks
When you open Bluestacks for the first time, it’ll feel like setting up a brand-new Android device.
- Sign in with the same Google account you use on your phone.
- Customize your settings if you’d like, but honestly, most people are too impatient to do that, if you know what I mean.
Now you’re officially in Android land—on your PC or Mac.
Step 3: Get the VidMate APK
VidMate isn’t available on the Google Play Store, so you can download it from here; don’t worry it’s a trusted source.
- Go to https://vidmatedownload.online.
- Download the latest VidMate APK file to your computer.
Make sure you save it somewhere easy to find—like your Desktop. Don’t be that person who downloads it into five different “Downloads” folders and forgets where it went; ya, I know that smile!
Step 4: Install VidMate on Bluestacks
Now comes the fun part: installing VidMate into your brand new emulator.
- Open Bluestacks.
- On the sidebar, you’ll see an “Install APK” button, which looks like a little APK file with a plus sign.
- Click it, locate the VidMate APK you just downloaded, and hit Open.
Bluestacks will manage the rest. Within a few moments, VidMate will be installed, and you’ll find its icon sitting pretty on your Bluestacks home screen.
Step 5: Open VidMate and Enjoy
Double-click the VidMate icon inside Bluestacks, and there you have it—VidMate running on your PC or Mac!
From here, you can:
- Stream videos on a bigger screen.
- Download movies, shows, or music directly to your computer.
- Use your keyboard and mouse for smoother navigation.
It’s basically VidMate, but with all the comforts of your desktop setup.
Why Use VidMate on Bluestacks?
- Bigger Screen: Watching movies on a laptop feels way better than hunching over your phone.
- Storage Freedom: Downloads go right to your computer—no more “storage almost full” alerts.
- Battery Saver: Your phone gets to chill while your PC does all the heavy lifting.
Final Thoughts
Installing VidMate on PC or Mac with Bluestacks is surprisingly easy. A few clicks, a little waiting, and you’ve got your favorite video-downloading app right on your computer. No more squinting, no more “phone overheating” warnings—just smooth, big-screen entertainment.
So go ahead, grab some popcorn, sink into your chair, and let VidMate + Bluestacks turn your computer into your new entertainment hub. Just don’t blame me if you end up binging videos until 3 a.m.